

Fits 7 inches wrist.
Here's how to make this crocheted bracelet:
Materials
* Crochet Hook 3.5mm
* Tapestry needle
* Scissors
* Yarn in cream, maroon and olive green (or your choice of colors) - 13 to 14 wpi type

* one button (about 0.625 inches/1.5cm diameter)

Abbreviations :
ch = chain
dc = double crochet
sc = single crochet
** Beginning Ch 2 is counted as a double crochet. **
Let's start :)
With
cream yarn, ch 37. Dc in third ch from hook and in each ch across. Make two more dc in the last ch. Total = 38 dc.
Join
maroon yarn. (You are now going to crochet on the opposite side of the ch). Make two dc in this same last ch and then dc in each ch across. Add two more dc in the beginning ch. Slip stitch to first ch 2. Total = 38 dc. DO NOT fasten off yet. Continue with the forming of the button loop.
To form the
button loop, ch 12.

Join back to edge of bracelet.

Fasten off and weave in all yarn ends.

Rounded end of bracelet.

First part of bracelet completed!
With the
green yarn, draw a loop around the first dc post.

Chain 1 and front post sc across.

At the turning posts, make front post sc followed by a chain 1 so that the ends will stay flat.

Join to beginning sc. Fasten off and weave in ends.
To make the button cover,
With
green yarn, start with a magic ring, ch 2 and work 13 dc into the ring. Total = 14 dc. Join to beginning ch 2. Cut off yarn, leaving about 8 inches for weaving and sewing.

Thread yarn onto a tapestry needle and weave around the circumference of the cover just made. Remember to place the button into the cover.

Pull the yarn to gather the opening close.

Here's how the the finished button looks:

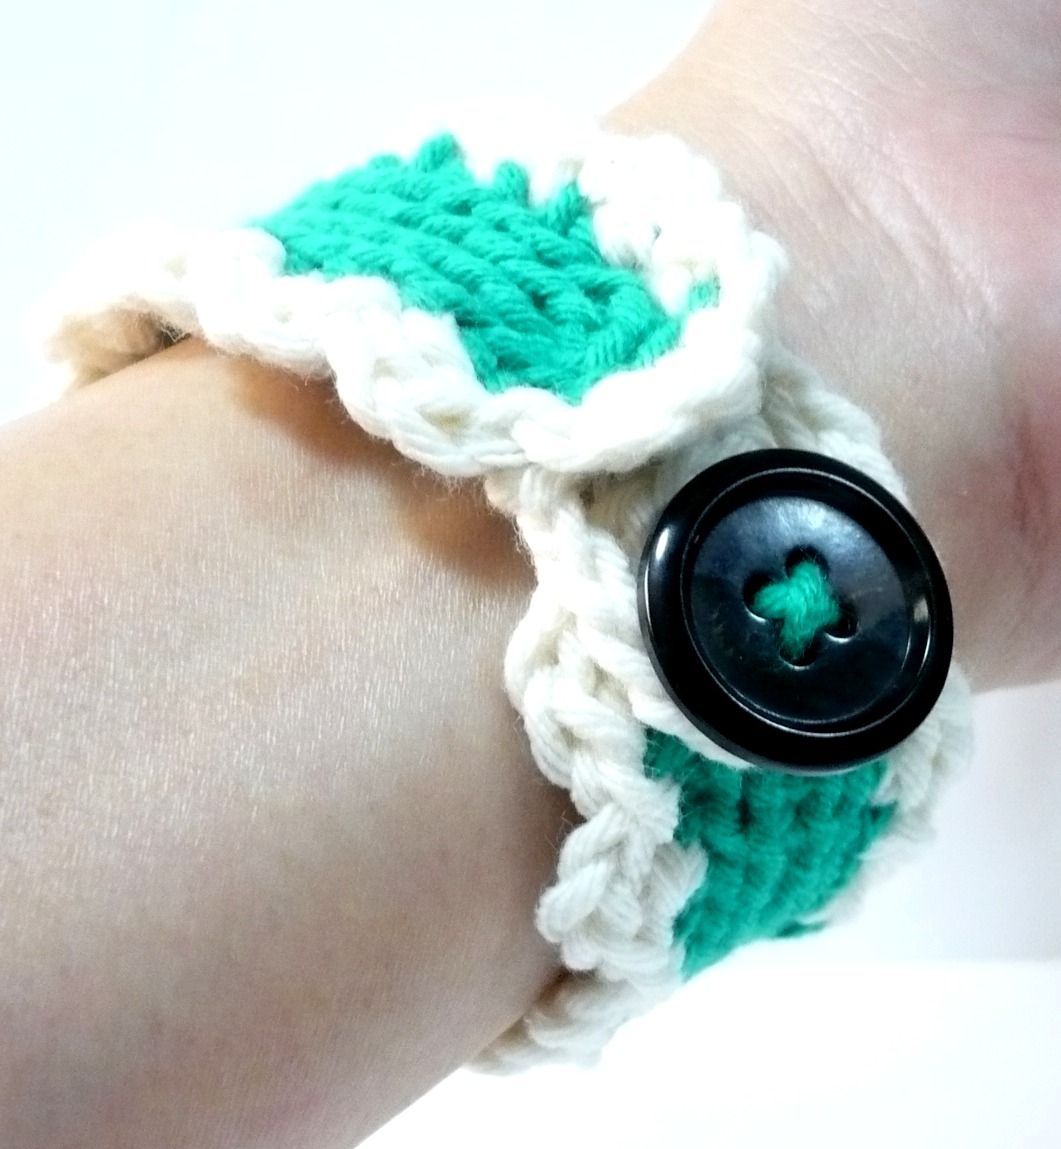
Sew the button onto the top side of the end of the bracelet.

Yay! It's done! Wear your crocheted bracelet with pride :)


 Fits 7 inches wrist.


 Rounded end of bracelet.


